How to Setup your Own BLog in under 5 minutes
Looking forward to start your own self-hosted blog.
Well, it's easier than most people think of and to be honest it takes less than 5 minutes to setup one.
Here in this tutorial, we'll be talking about how to setup a self-hosted wordpress blog.
A self-hosted blog gives you 100% freedom to build your site the way you want and with wordpress as your platform, you have the flexibility to create just about any kind of site, thanks to the thousands of themes and plugins available for it.
So, without wasting any more time, let's get straight to the process and help you set up your new blog for you.
Step 1
Choose your Domain name and Hosting Provider
Now I personally use Hostgator for both of these solutions from the beginning of my blogging career and everything has been so smooth with them for the past 7 years.
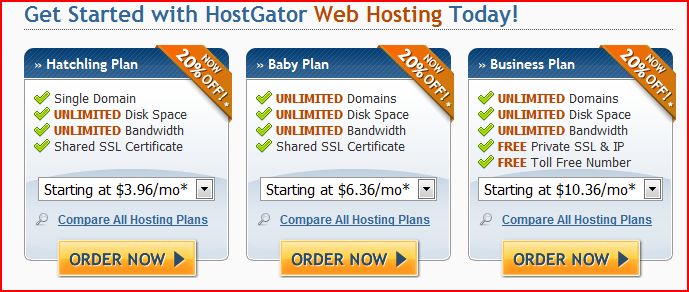
So, let's head over to Hostgator.com, and click on View Webhosting Plans and select the plan that meets your needs.
I would suggest you to go with the baby plan because it is really affordable and you can host multiple websites on teh same account, accuring no extra charges.
Now I personally use Hostgator for both of these solutions from the beginning of my blogging career and everything has been so smooth with them for the past 7 years.
So, let's head over to Hostgator.com, and click on View Webhosting Plans and select the plan that meets your needs.
I would suggest you to go with the baby plan because it is really affordable and you can host multiple websites on teh same account, accuring no extra charges.
Step 2
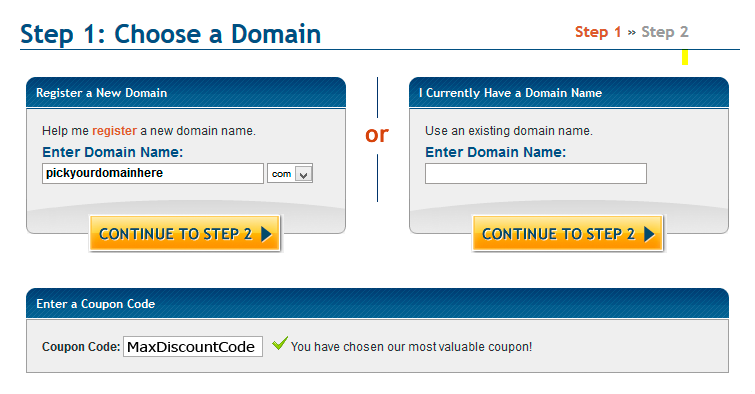
Once you've selected the hosting plan, now we'll have to register our desired domain name i.e. the url of your blog or the name by which people will reach to your blog.
Moreover, this is the step where you can use the coupon code "MaxDiscountcode" and save 25% on your overall order. That is a huge discount and is available on to the readers of this tutorial.
Moreover, this is the step where you can use the coupon code "MaxDiscountcode" and save 25% on your overall order. That is a huge discount and is available on to the readers of this tutorial.
Step 3
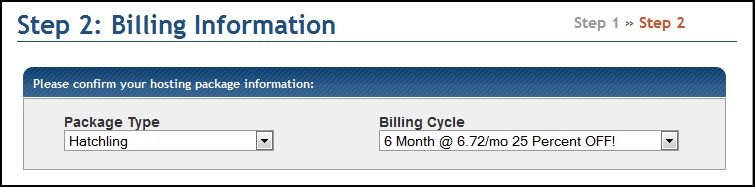
Now, you need to hit next and complete your order.
Enter your billing details and complete your order.
Please note that you should choose atleast 1-2 years worth of hosting because:
1. It will save you from the risk of losing visitors if you forget to renew your hosting.
2. You will end up saving a lot of money since you're getting 25% OFF on your overall order.
How to Setup Wordpress on your blog
Now that we have our hosting account and the domain name in order.
We can proceed and install Wordpress on our blog.
With hostgator's cPanel interface, it becomes dead easy to install wordpress.
We can proceed and install Wordpress on our blog.
With hostgator's cPanel interface, it becomes dead easy to install wordpress.
Step 1 :Login into your cPAnel account
You need to check your email account for the cPanel login details that hostgator has sent you after the completion of your order.
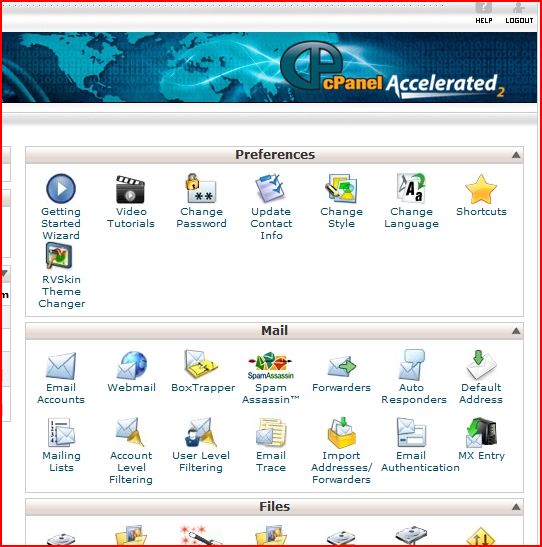
Login into your cPanel account and you'll have something like this on your screen.
Login into your cPanel account and you'll have something like this on your screen.
Step 2 : Fantastico Deluxe
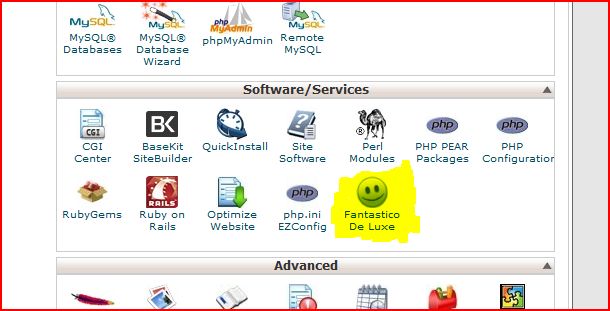
Once you're logged in into your cPanel account, scroll down and you'll find a "Smile Face" icon that says fantastico deluxe.
Click on it and you'll be taken to the page where we can install wordpress.
Step 3: Installing Wordpress
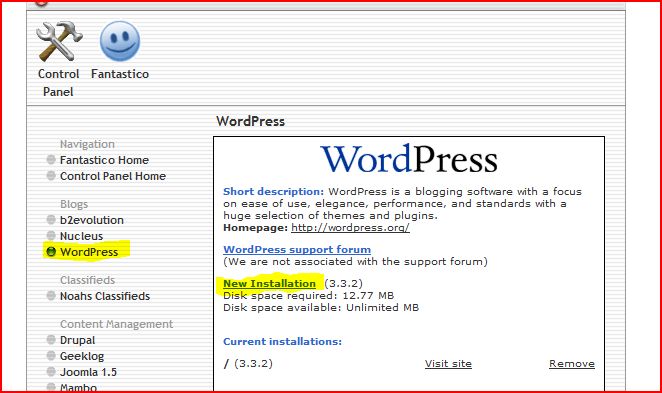
Once you're in fantastico dashboard,
Click on wordpress link in the left sidebar and select new installation.
Enter the desired details and hit next twice.
Click on wordpress link in the left sidebar and select new installation.
Enter the desired details and hit next twice.
Tada!
Congratulations!
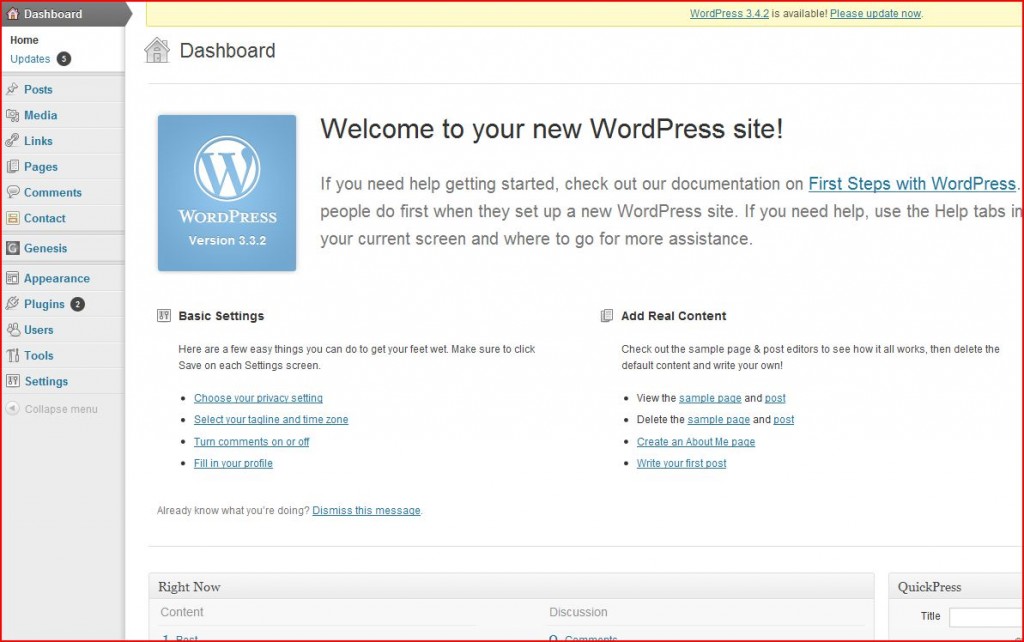
You've Successfully setup your own wordpress blog.
You can sign in to your dashboard and start writing your first blog post now.
Your dashboard will like this:
You've Successfully setup your own wordpress blog.
You can sign in to your dashboard and start writing your first blog post now.
Your dashboard will like this: